While there is a lot of controversy around pasteurization, the milk we can find on supermarket shelves is always pasteurized by milk pasteurizers. And in many countries, it’s mandatory even for small farms to process their dairy. That’s why — no matter what side you’re on — it’s important to know all the details about the process, time and temperature for pasteurizing milk.
What Is Milk Pasteurization?
In general, pasteurization is a process of heating food or drinks to a certain temperature and time in order to kill all the germs that might cause illnesses. So if you’re wondering what can be pasteurized, the answer is…just about everything. Merely by cooking food, you’re basically processing it and killing all the harmful bacteria.
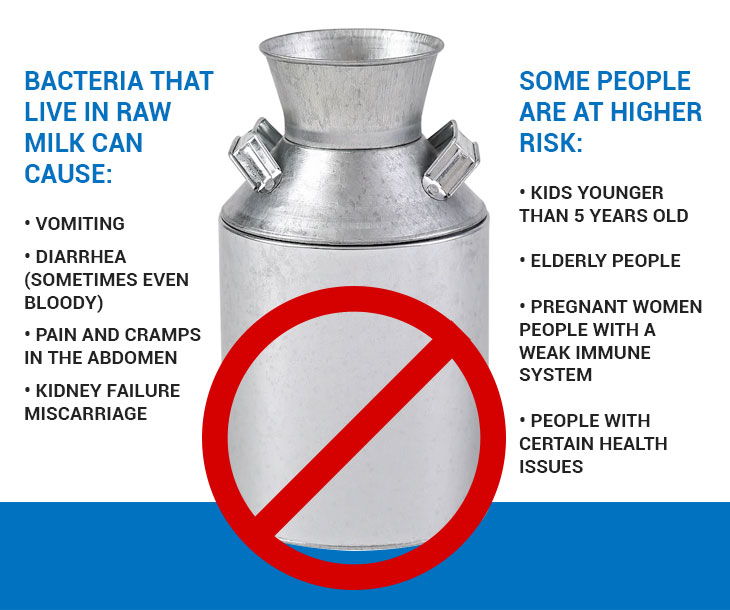
While a lot of people are not huge fans of processed milk, raw dairy products might cause:
- Nausea and vomiting
- Diarrhea
- Pain or cramping in the abdomen
- Kidney failure (in rare cases)
- Miscarriage or death of an unborn baby
Some people are more vulnerable to the germs that raw milk might contain:
- Kids below 5 years old
- Elderly people
- Pregnant women
- People with immune system disorders (cancer, HIV, etc.)
- People with certain health issues (diabetes, heart illnesses, etc.)
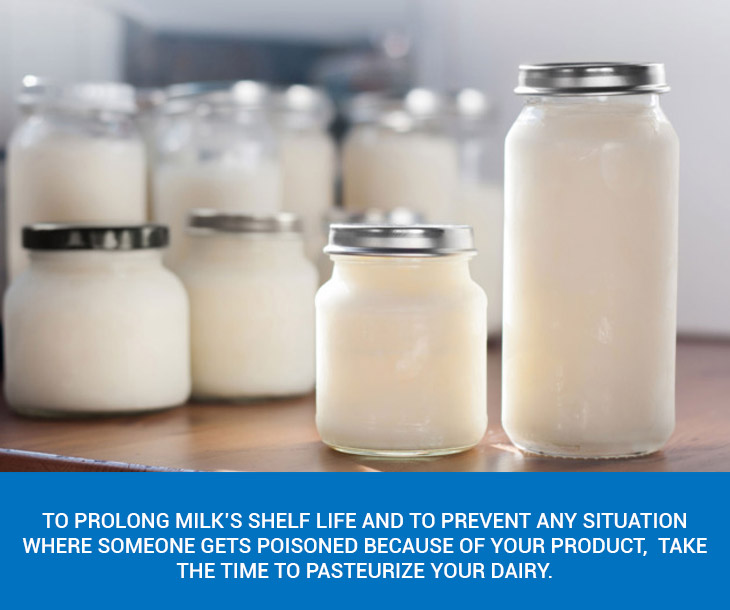
That’s why milk is made safe with pasteurization. These health risks are the reason many countries forbid the sale of raw dairy products. So often, both big manufacturers and small farms have to process their milk.
However, there are several countries where it’s not mandatory for farmers to pasteurize their dairy. If you buy milk from such retailers and are worried about its safety, you can easily process it at home. Also, the following instructions will be sufficient if you’re selling your dairy to locals and want to make sure no one gets sick.
Milk Pasteurization Process
What will you need:
- A double boiler. You can use a thick-bottomed pot as well, but there is a risk that milk will burn on the bottom or get heated unevenly.
- A sterilized kitchen thermometer
- A spatula or large spoon
- An ice bath. Fill a sink or large bowl with ice water.
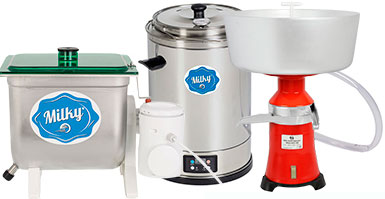
Check out our milk pasteurizers, perfect for any milk! Milkyday has the ideal machine for both your household and small farm needs.
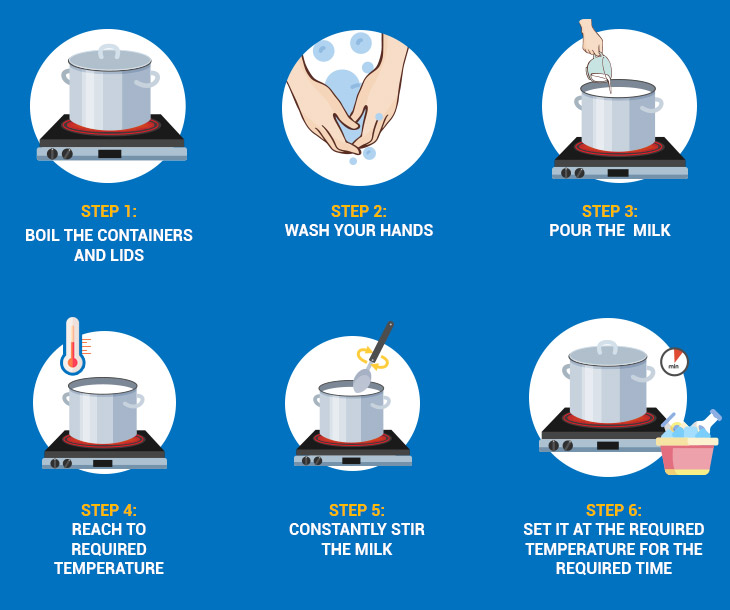
To begin the process, you need to clean the work area, wash your hands and sterilize the jars in which you’re going to keep the milk. You can sterilize containers by boiling them for a couple of minutes.
Once everything is clean, fill the bottom part of your double boiler with water and pour milk into the top part. You can use a regular pot too — just make sure you stir the milk the whole time so that it heats evenly and doesn’t burn. Put the double boiler or pot on the stovetop and turn the heat on low so that the milk heats up slowly. Use the thermometer to control the temperature. Once you reach the right temperature, keep the milk there for the required amount of time and then put it in an ice bath. Stir the milk so that it cools down faster, then pour it into jars and put it into the fridge.
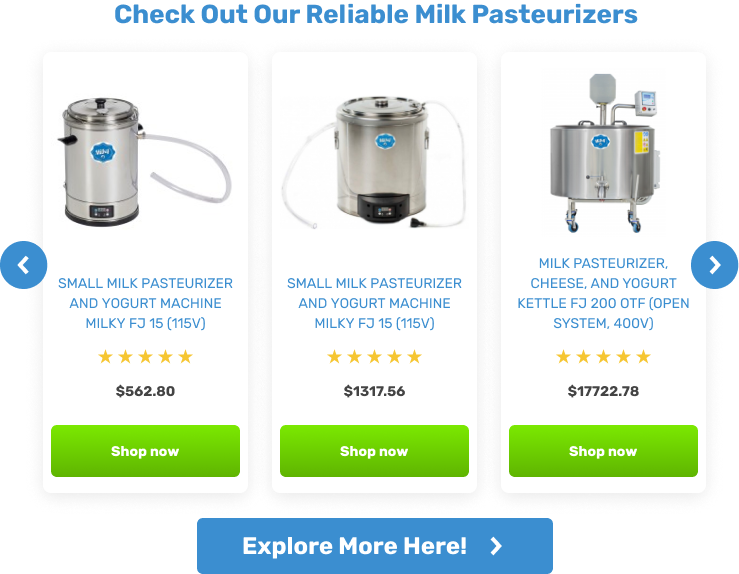
To keep things simpler for yourself, you can always use a milk pasteurizer that will take all the hassle away. Explore our range of these machines suited for home and small to medium farms. If you need any help in choosing the milk pasteurizer that will satisfy your needs, don’t hesitate to drop us a line — we’re always ready to assist you!
Methods and Temperature for Pasteurizing Milk
The temperature for pasteurizing milk depends on the method you choose. The most popular methods are low temperature, HTST (high temperature, short time) and ultra-high temperature.
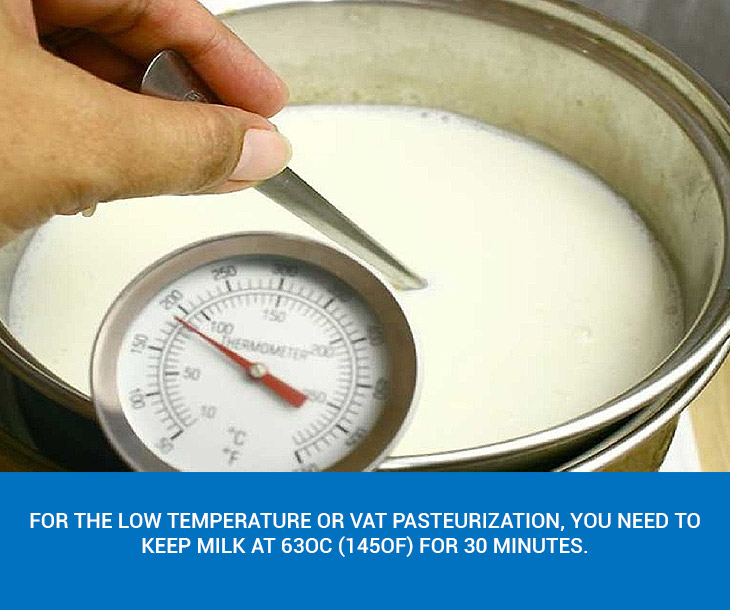
For low-temperature or VAT pasteurization, you need to keep milk at 63oC (145oF) for 30 minutes. This approach allows you to retain the texture and taste and is best for batch pasteurization. You could use a double boiler for this method, but it’s better to invest in a pasteurizer that will keep milk at the required temperature without needing you to watch over it. Advanced models will even cool the milk down after it’s processed.
HTST is the most common technique. It requires you to keep milk at 72oC (161oF) for just 15 seconds. This approach is feasible for home use and can be executed without any additional tools other than a cooking thermometer.
Did you know that you can also make homemade yogurt in a milk pasteurizer? Learn how from our quick guide:
https://milkyday.com/blog/2019/11/18/ultra-pasteurized-milk-is-it-bad-how-is-it-made/
Ultra-high-temperature pasteurization will need you to heat milk to 138oC (280oF) and keep it at this level for only two seconds. However, this approach also involves sterilized packaging and is very hard to execute at home because it requires many additional tools. UHT pasteurization is used by manufacturers. It allows them to produce shelf-safe milk that doesn’t require refrigeration until it’s opened.
How Long Can You Store Pasteurized Milk?
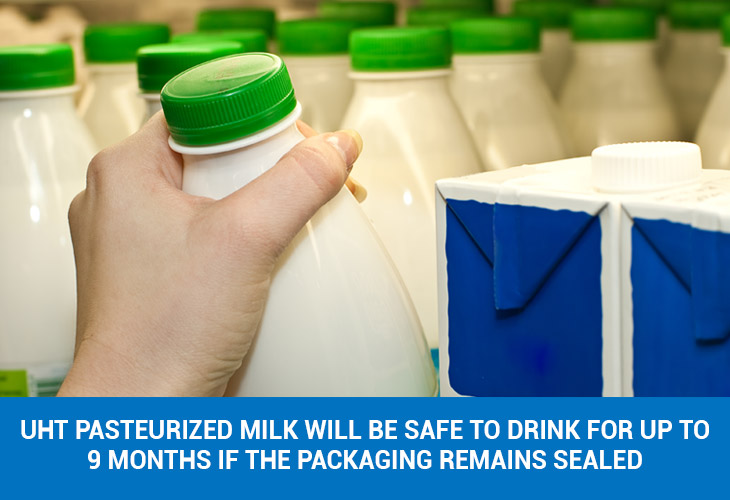
Obviously, the UHT method is the most beneficial in terms of shelf life. Such milk will be safe to drink for up to nine months if the packaging remains sealed.
HTST and VAT pasteurization are much easier to do at home. You can store such milk in the fridge at around 4oC (40oF) for up to two weeks. However, make sure you pasteurize it as soon as possible after it is gathered.
Milk pasteurizers can also help you make cheese! Find out how to make mozzarella at home using such a machine:
Unless you sell dairy and the government requires you to process it, it’s up to you whether you pasteurize your milk or not. Many people don’t feel safe drinking raw milk, so it’s useful to be aware of pasteurization methods in order to lower the risk of illnesses or other negative reactions.