We all know how good milk and dairy products are for our health and skin. We even have an article about all their benefits (you can read it here). So why not take your relationship with milk to the next level and start using it directly on your skin? Humans have used it to improve their skin for ages. One famous example is Cleopatra’s milk bath.
That’s why we’ve decided to share this simple and foolproof milk soap recipe that doesn’t require any special skill or much time to make. Enjoy!
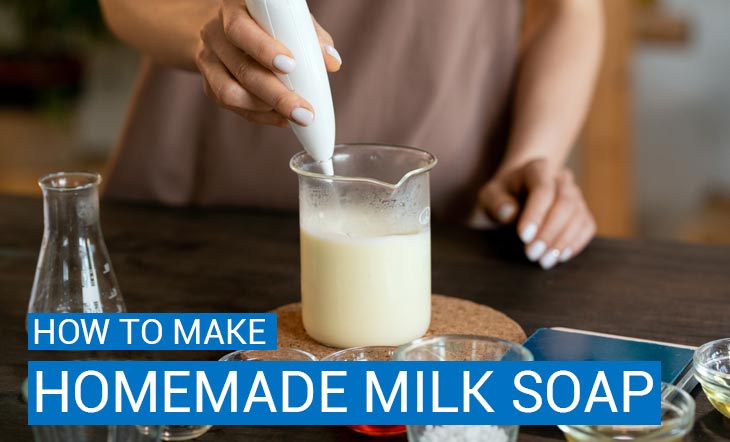
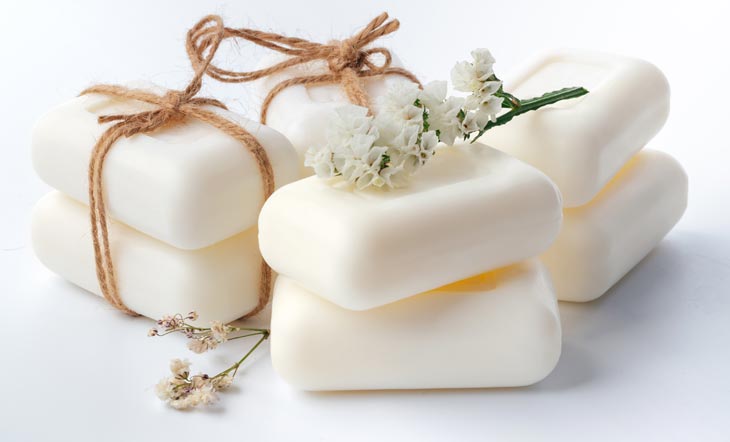
How to make your own milk soap
Here is the list of ingredients you’ll need:
- 9 oz (or 255 grams) milk — You can use any whole milk, not just from cows.
- 4.3 oz (or 122 grams) lye (sodium hydroxide) — This is your milk base.
- optional: 1 1/2 tsp sodium lactate — To help harden the soap.
- 22 oz (or 624 grams) olive oil — Moisturizes the skin and improves your complexion.
- 8 oz (or 227 grams) coconut oil — Reduces inflammation.
- 1 oz (or 28 grams) castor oil — Stimulates the production of collagen.
You can use a different soap base if you prefer. Just find out how much of it you need to use and all the details about its shelf life as well as the way it might react with other ingredients. Soap bases are usually universal and easily interchangeable, so you shouldn’t have any problems with swapping lye for some other soap base.
Step 1
First, you need to freeze the milk so that it has a slushy consistency. The best way to do that is by pouring the milk into ice cube trays for faster freezing. This will protect the sugars in the milk from scorching.
Step 2
Add the lye to the milk bit by bit and begin to thaw it. Don’t rush this step. You want the lye to melt into the milk and get distributed properly. The milk might become yellow or get a funky smell during this step. That’s completely normal. Once you’ve added all the lye, stir the mixture from the bottom to ensure that the lye is evenly distributed. Check for particles. If there aren’t any, put the mixture aside.
Step 3
Mix all the oils in a separate bowl or container. Make sure they’re combined very well. If the coconut oil is too solid for this, heat it very briefly just to melt it. All the oils should be at room temperature.
Step 4
Sodium hydroxide is extremely dangerous, so make sure to use safety gloves, glasses and work under the hood to avoid getting these particles on your skin or in your eyes. Slowly pour the milk and lye mixture into the oil mixture. You can use a hand blender with a whisk tool for this. Just be careful and switch to manual mixing from time to time to prevent the incorporation of air into the mixture. There should be no bubbles in it. Work the mixture very well until the oils are completely incorporated and you can’t see them. At this point, you can also add a couple of drops of your favorite essential oil. Just be careful when it comes to adding more scents to soap because milk has its own distinct smell.
Step 5
All that’s left to do now is to pour the mixture into molds and let it set. There is no need to cure this soap. It will harden by itself. If you want your soap to look whiter, put it in the freezer for 24 hours and then take it out and leave it at room temperature for 24-48 hours. For a browner shade, just leave it out at room temperature for 24 hours after pouring it into the molds.
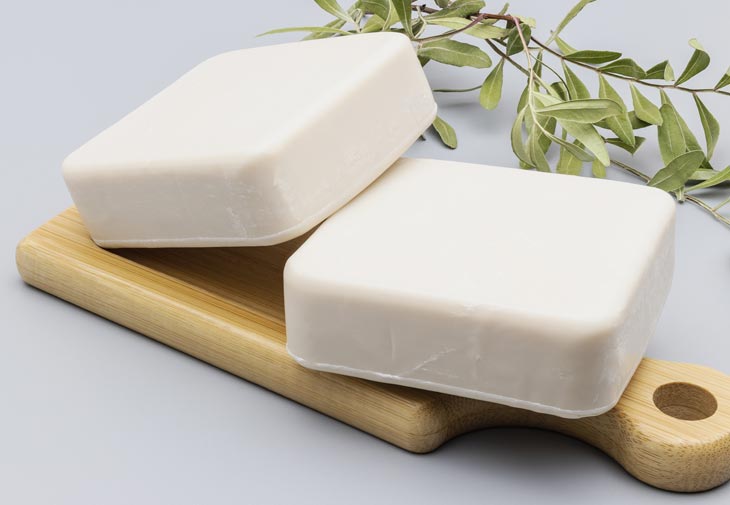
Your homemade milk soap is now ready!
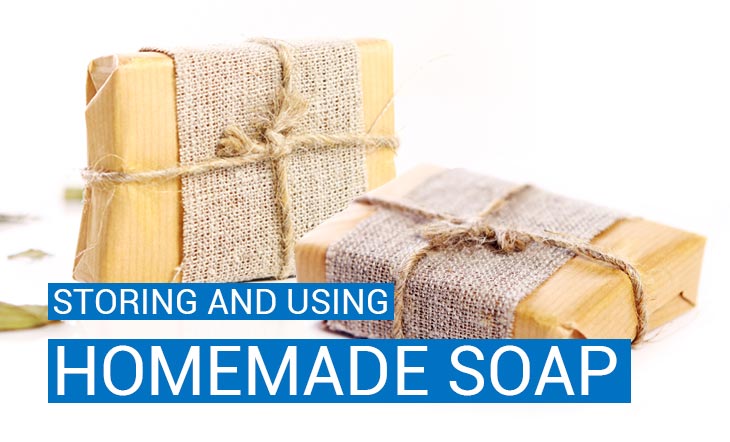
Storing and using homemade soap
The soap made by following this recipe will be good for up to two years. You don’t have to worry about it going bad. However, if you added any botanicals or other ingredients that can spoil faster, you should calculate the shelf life of soap based on what you have added. And, yes, you can customize this soap by adding other ingredients! Just be careful with the way ingredients react to each other and don’t add too many oils. If you want to add another oil to our recipe, add a smaller amount of one of the listed oils. Excess oil will make soap too soft.
Store your soap in a dry, cool and dark place wrapped in plastic wrap. You can also put it in a zipper bag or use shrink plastic. Just be careful to not melt the soap while you’re packaging it. If you wrap and store your homemade soap and you haven’t added any ingredients that spoil fast, it might have an even longer shelf life than two years. It might change its color a bit, but it will be good to use nevertheless.
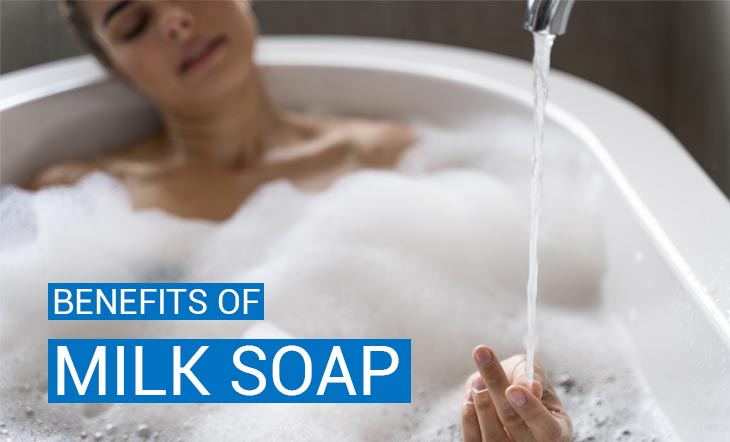
Benefits of milk soap
Milk soap, whether it’s homemade or store-bought, has many benefits thanks to the milk itself. With that said, when you make the soap at home, you know exactly what’s in it. This might be important if you have sensitive skin.
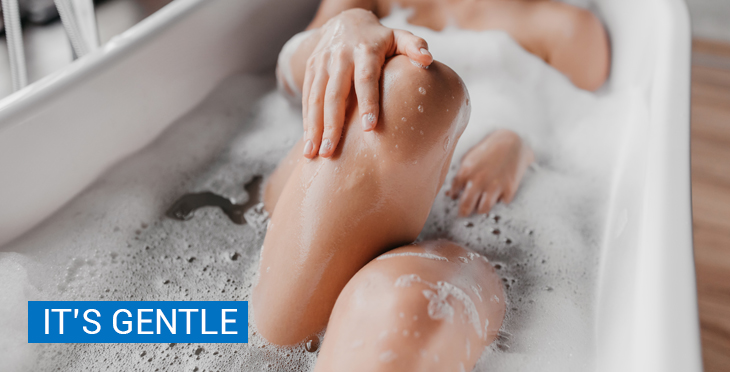
It’s gentle
Milk soap is a gentle cleanser, especially if it’s made at home with the recipe we provided above. It doesn’t strip the skin of its natural oils and thus does not damage its protective barrier. The milk and oils in the soap might actually help to strengthen that barrier.
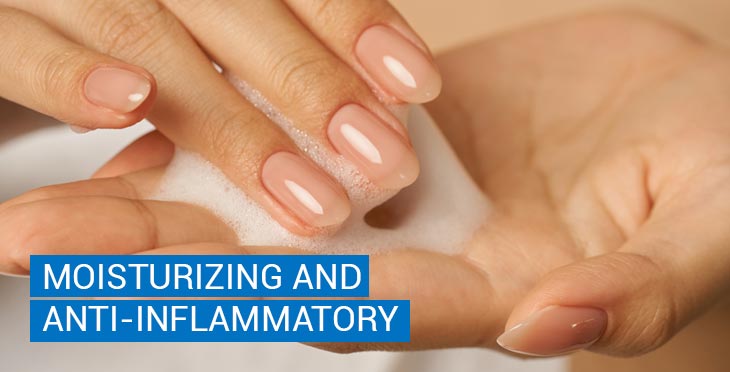
Moisturizing and anti-inflammatory benefits
Homemade milk soap moisturizes the skin and helps reduce inflammation thanks to the selenium, fatty acids and cholesterol that milk contains. So using it might help with some skin issues. However, you should remember that soap itself is just a cleanser and you need to use other products such as serums and creams to manage any skin problems you experience.
In addition to that, milk contains vitamin A (also known as retinol), which is famous for its anti-aging and brightening effects.
Milk, along with all the oils added to it to make soap, improves the lipid barrier of the skin and helps keep it moisturized, healthy and resistant to the impact of external factors such as sun and air pollution. Yet, as we’ve already said, soap is just a cleanser. Always use sunscreen when you walk outside during the day. And if you live in an area with highly polluted air, look up some creams that protect the skin from such damage.

Soft exfoliation
Milk contains alpha-hydroxy acids (AHAs) such as lactic acid that play the role of exfoliators. AHAs are widely used to treat acne, scars and hyperpigmentation caused either by the sun or by aging. They remove dead skin cells, boost the production of collagen and give the skin a more youthful and better complexion. Keep in mind that you can’t really know how much of these acids are in the milk you’ve used. Also, homemade milk soap can never be as effective as specialty products containing these acids. So you shouldn’t expect any dramatic effects. However, that’s good news as well—especially if you’re going to use your soap daily. Too much exfoliation damages the protective barrier of the skin. For this reason, you might want to avoid overusing your homemade milk soap.
Promotes a healthy microbiome
Every living thing has a microbiome (i.e. a world of bacteria). And our skin has one as well. Healthy bacteria help keep our skin healthy. But the environment and our eating habits might disrupt this microbiome. Since milk is the main ingredient of this homemade soap, it can improve the microbiome of your skin, thus making it healthier and more resistant to external factors.
Might help with acne
One form of acne treatment is thorough cleaning because acne spreads through certain bacteria. This homemade milk soap is a gentle yet effective cleanser that can help stop the growth and spread of this bacteria. It’s important to use gentle cleansers if you struggle with acne because harsh soaps strip the skin of its natural oils. The skin will then try to regain its balance and begin to produce more oils, which will lead to clogged pores and even more acne.

The AHAs exfoliate the skin, improving the cleansing effect and helping reduce acne while improving the overall condition of the skin. And the moisturizing effect of the milk soap will maintain the moisture balance of your skin, helping it to heal from acne. Again, the soap itself is not a remedy and you need to use other products to get rid of acne effectively.
We hope you will enjoy this homemade milk soap! Along with eating healthy and using other products, it can help you get that healthy and glowing skin we all dream of.