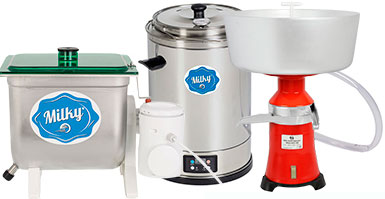
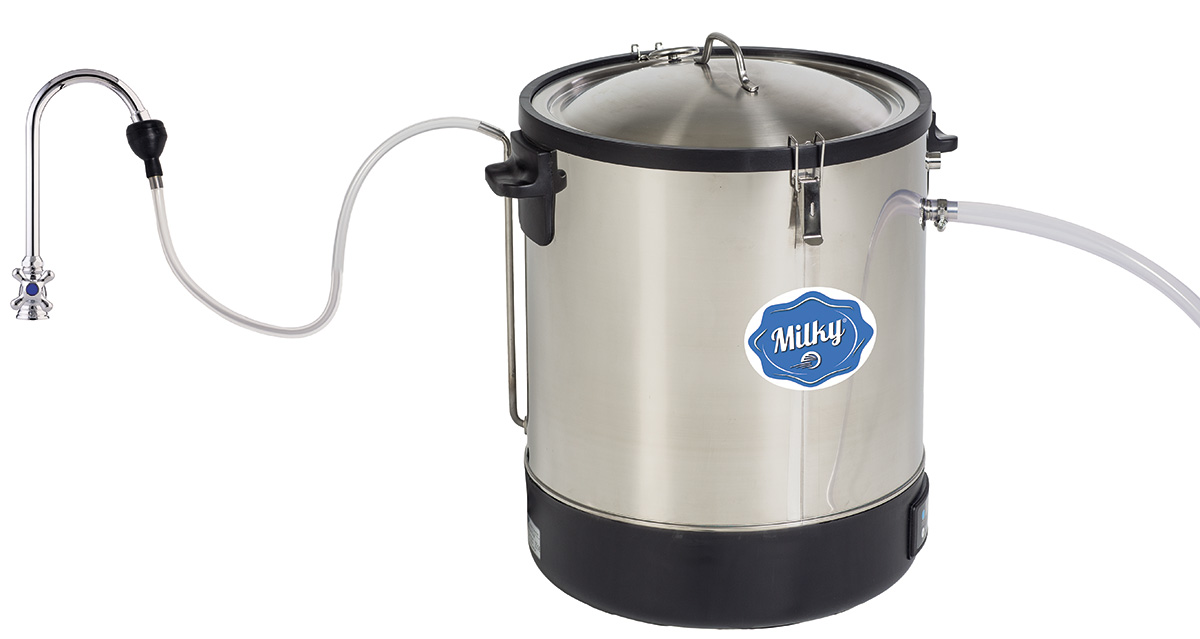
In our previous article on the preparation of yogurt, we were discussing step by step process of preparation of such a delicious and healthy product at home without using special electrical appliances for that. Today we will talk about another way of making yoghurt, which implies use of a pasteurizer. A pasteurizer is a device serving for the thermal processing of milk, juices and other food products. The intent of pasteurization process lays in the fact that first the milk or some other product is heated up to a certain temperature, and then it’s abruptly cooled down. This is done to ensure that the product has a longer shelf life afterwards. Making yogurt in a pasteurizer is a fairly simple process itself, so let’s take a closer look at it step by step.
Ingredients:

Needless to say, the main ingredient is milk. Whether it is with standard fat content, skimmed, cow or almond milk, depends only on you. Besides milk, the essential ingredient is a starter of course. The starter is needed for the fermentation process to take place in the milk with the help of microbes, which will turn it into yogurt in the end. If you wish so, you can add sugar, vanillin, fruit and much more to yogurt. It depends only on what taste you prefer more.
The process of making yogurt:
- Collect all the necessary ingredients. Pour the required amount of milk into the pasteurizer’s container.
- Pasteurize the milk at the temperature of 185°F (85°C) for 30 minutes or at 203°F (95°C) for 10 minutes. The high temperature kills the harmful bacteria in the milk, thereby creating a suitable environment for the fermented bacteria contained in the starter. The starter shall be added after the pasteurization process.
- Cool the milk down to a temperature of 108°F (42°C), which is ideal for the propagation of fermented milk bacteria.
- Now it’s time to add the starter. Add it and stir thoroughly.
- While maintaining a constant temperature of 108°F (42°C), allow the milk to rest for about 8 hours so that it turns into yogurt.
- Cool the milk down to 7°C to stop the fermentation process.
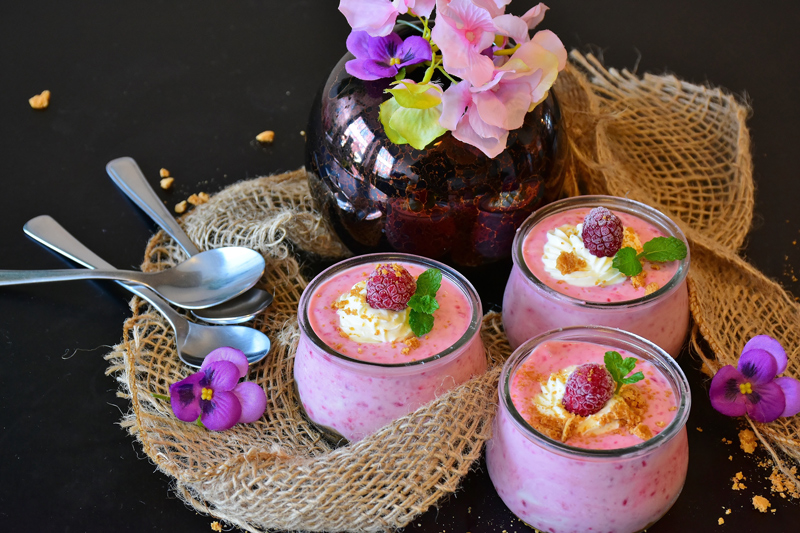
- At this point, you can add fruits, nuts and whatever you like.
- Now, it’s time to pour the yogurt in jars or bottles for storage and enjoy a wonderful taste of it afterwards!


