Summer is here, and you have probably considered having a tasty ice cream treat more than a few times to cool down. Instead of running to the store every time the craving strikes, you could make your own delicious homemade ice cream.
There are quite a few perks to making homemade ice cream. When you make your ice cream at home, you can choose what goes into it. Store-bought ice cream may contain artificial flavorings and preservatives that you want to avoid. When making homemade ice cream, you can leave those ingredients out.

Would you like a unique ice cream flavor that is difficult to find in stores? Something heavy on chocolate chips, brownie chunks or even oatmeal cookies? You can make any flavor of ice cream at home.
In addition, the ingredients in most homemade ice cream recipes are pretty easy to find. In fact, they are mostly things we usually stock up on in the refrigerator or pantry, like whole milk, eggs, sugar and heavy cream.
You are probably thinking that making your own ice cream at home sounds difficult. It doesn’t have to be. This article will show you a few easy homemade ice cream recipes you can follow.
Homemade Ice Cream Recipes
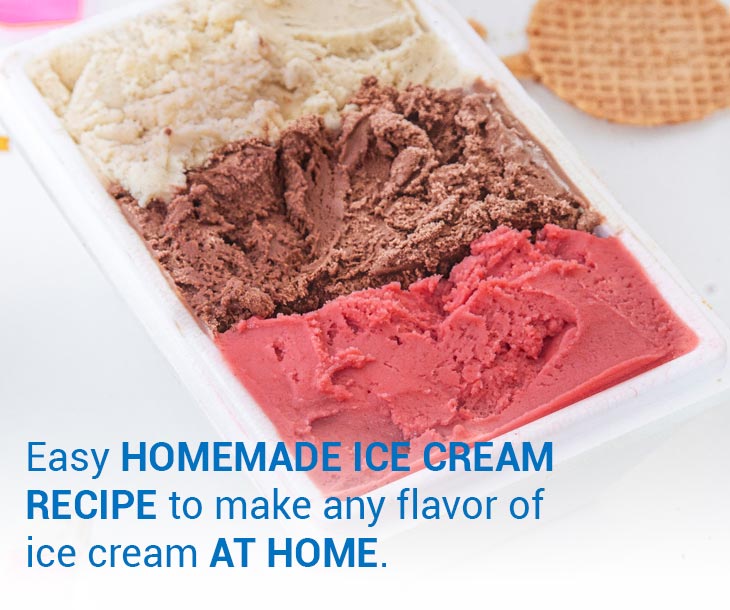
With the most basic ingredients in your pantry, you can make delicious homemade ice cream. We have compiled for you a few easy homemade ice cream recipes to help you make ice cream at home.
Easiest homemade ice cream recipe
This two-ingredient recipe is perfect for a basic ice cream. It can come in handy when you are expecting a group of guests with varying tastes—they can add their preferred toppings to the ice cream. Follow these steps:
Ingredients
- 2 cups heavy cream, very cold
- 1 (14-oz.) can sweetened condensed milk
- About 2 tsp. vanilla extract (optional)
Optional ingredients
- ¼ cup chocolate chips (chopped)
- 2 tbsp. chocolate syrup
- ¼ cup nuts
Instructions
- Mix the cream on high speed until it becomes stiff. This should take you 2-4 minutes, depending on your mixer.
- Fold in the condensed milk.
- Add any optional extra ingredients you want.
- Transfer the mixture to a container with a lid and freeze for at least six hours.
Homemade strawberry ice cream recipe
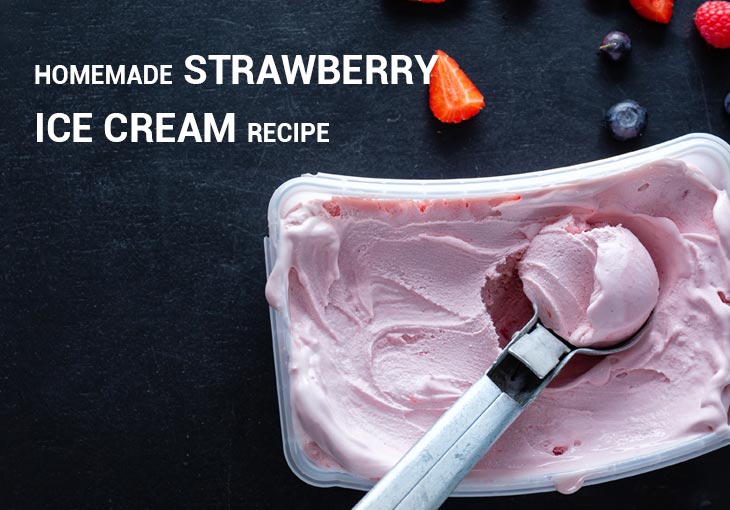
One of our favorite things about this homemade strawberry ice cream recipe is that you can choose how your strawberries are added to it. Want your ice cream totally smooth? Puree your strawberries in a blender. Want it a little chunkier, with pieces of strawberry throughout? Mash your strawberries with a potato masher or fork. You can even have both! Just follow this simple recipe:
Ingredients
- 1 pound strawberries, hulled and halved (about 3 cups)
- 8 ounces strawberries, coarsely chopped
- 1 tbsp. fresh lemon juice
- ½ tsp. salt
- 1 cup heavy cream
- 1 cup low-fat milk
- ⅔ cup sugar, plus ½ cup more for macerating
- ½ cup light corn syrup
- ¼ cup vodka or silver tequila
Instructions
- Puree the halved strawberries with lemon juice and salt in a blender until smooth.
- Strain the strawberry puree through a fine mesh sieve. This should yield about 1 ½ cups of puree.
- Combine the milk, heavy cream, corn syrup, and 2/3 cup sugar in a pan. Bring the mixture to a boil, then reduce the heat and allow to simmer on low for two minutes.
- Strain the mixture into a bowl, set it in an ice bath and let it stand. Stir occasionally until cold, for about five minutes.
- Add the strawberry puree to the mixture. Cover and refrigerate for at least two hours (maximum 12 hours).
- Stir the vodka (or tequila) and ½ cup sugar together. Add the chopped strawberries and macerate at room temperature for at least two hours (no more than 12 hours) in a refrigerator. Macerating the strawberries makes them softer and sweeter.
- Transfer the puree mixture to your ice cream maker. Allow it to run according to the manufacturer’s instructions. The strawberries will give your ice cream a pretty light pink color, but if you want it a little darker, you can add some red food coloring at this step.
- When it has a soft serve texture, drain your macerated strawberries and fold them into the mixture.
- Transfer to a loaf pan, wrap it in plastic and freeze for at least four hours.
- Your ice cream is best served after allowing it to stand for 10 minutes at room temperature. It can last up to one week in the freezer.
Homemade vanilla ice cream
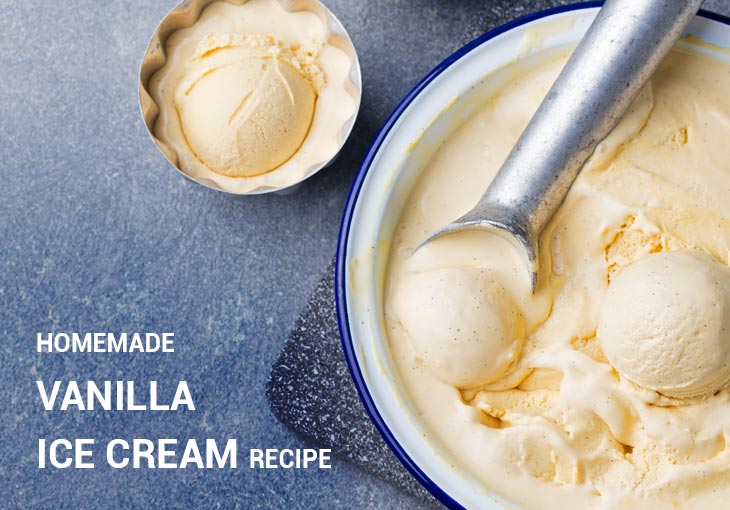
You can never go wrong with a good vanilla ice cream. It goes well with any fruit or other extras like chocolate chips, brownies and cookies. This super-easy and quick vanilla ice cream recipe will allow you to make your own tasty vanilla ice cream at home.
Ingredients
- ¾ cup white sugar
- 1 cup heavy whipping cream
- 2 ¼ cups whole milk
- 2 tsp. vanilla extract or 1 vanilla bean split in half lengthwise
Instructions
- Mix the sugar, whipping cream and whole milk together in a pan over medium-low heat. If you are using a vanilla bean, scrape the seeds into the pan at this point.
- Stir the mixture slowly until the sugar is dissolved, but do not allow it to reach a boil.
- Pour the mixture into a container. If you are using vanilla extract, add it at this point.
- Put it in the refrigerator to freeze for at least two hours or until the mixture is cold.
- When ready to churn, remove the vanilla pod, transfer the mixture to the ice cream machine and process it according to the manufacturer’s instructions or until you reach the desired thickness. This should take you about 20-25 minutes. Add any optional extra ingredients at this stage (about five minutes in).
No-churn homemade mint-chip ice cream
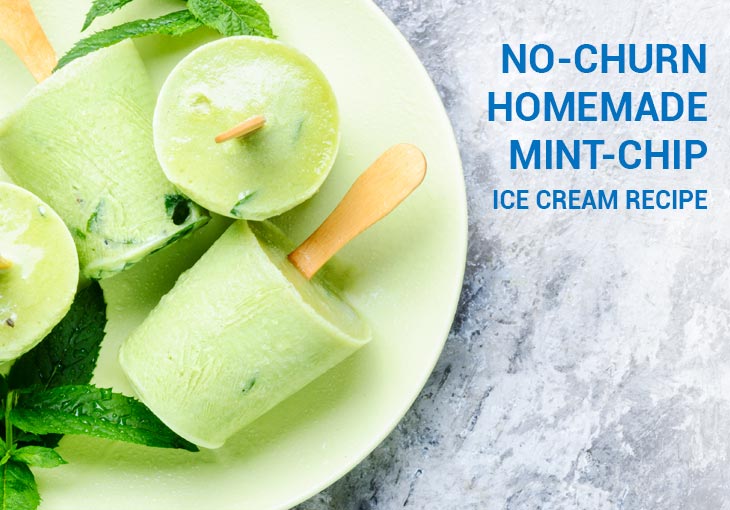
No ice cream maker? No problem! This mint-chip ice cream is made without an ice cream maker, so you can make a delicious and creamy ice cream even without one. All you need is sweetened condensed milk, heavy cream, peppermint extract and crème de menthe. You can also add a drop or two of green food coloring for a hint of mint color.
Ingredients
- 1 (14-oz.) can sweetened condensed milk
- 2 cups chilled heavy cream
- 2 tsp. peppermint extract
- 1 tbsp. crème de menthe
- A pinch of salt
- 1 cup chopped bittersweet chocolate (70% cacao)
Instructions
- Stir the condensed milk, peppermint extract and crème de menthe together in a large bowl.
- In another bowl, beat the heavy cream with salt until stiff peaks form.
- Gently fold the cream into the milk mixture in two batches. Do this until no streaks are left.
- Fold in the chopped chocolate.
- Transfer the mixture to a bread pan. Freeze for at least six hours.
- This ice cream can last in your refrigerator for up to one month.
Equipment You Can Use To Make Homemade Ice Cream
Trying to make your own delicious ice cream at home can be incredibly time-consuming and frustrating, especially if you do not have the right equipment. While you do not necessarily have to break the bank when selecting equipment for making homemade ice cream, there are a few things that could really ease the process for you. Some of them include the following:
Ice cream maker
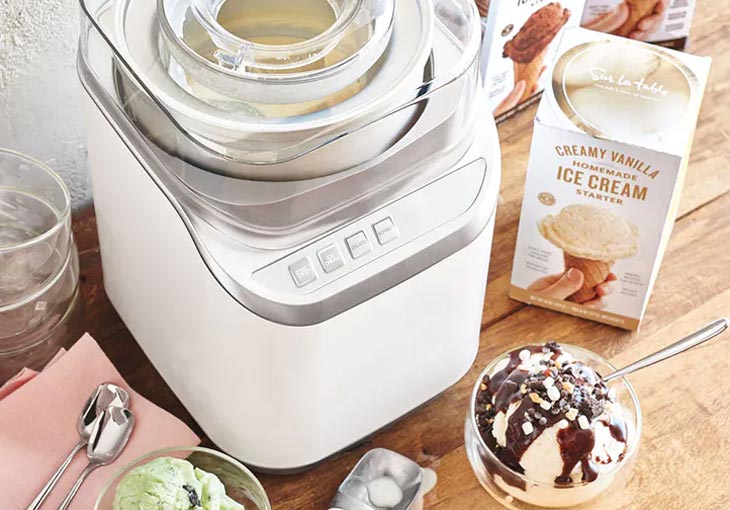
Choosing the best ice cream maker for home use largely depends on your budget. If you are willing to spend more, you can acquire a top-of-the-line ice cream maker with multiple temperature settings for around $500. However, a $100 Cuisinart entry-level machine will work just fine as well. If you are looking for something unique and interesting, you could even get a hand-crank machine.
Cream separator
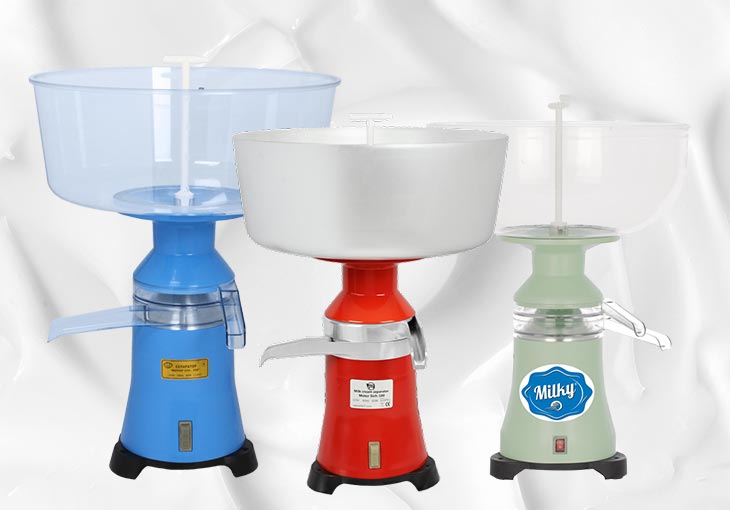
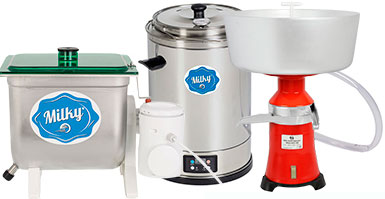
With a cream separator, you can make your own cream for making homemade ice cream from scratch. A cream separator separates all the fat from whole milk to make skim milk and cream. With this piece of equipment, you get a nice two-for-one deal: skim milk and cream, both of which you can use in your homemade ice cream recipe.

Blender
You’ve probably used your blender to make a smoothie or a milkshake countless times. Can you use it to make homemade ice cream too? The answer to that question is yes! You can use a high-powered blender or food processor to process your ice cream mixture before popping it into the refrigerator to freeze.
Hand mixer
When making a no-churn ice cream, this tool comes in handy by helping you whip the cream into stiff peaks. With a no-churn recipe like the one outlined earlier, you do not need an ice cream machine to make delicious ice cream at home.
How To Make Homemade Ice Cream Without a Machine
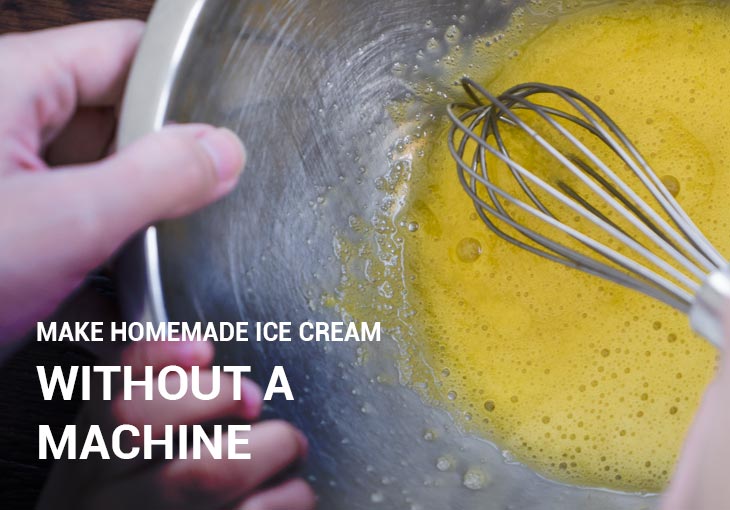
You do not need an ice cream maker to make delicious homemade ice cream. If you do not have one or it has broken down, it is quite easy to make ice cream that is still creamy and smooth with a few basic ingredients and an electric mixer. Follow this easy recipe for a basic homemade ice cream without an ice cream maker:
Ingredients
- 2 cups chilled heavy cream
- One (14-oz.) can sweetened condensed milk
- ½ tsp. vanilla extract
- 1 ¼ cups chilled whole milk
- ¾ cup granulated sugar
- ¼ tsp. salt
Instructions
- In a bowl, whip the cream with a mixer until stiff peaks form. On low speed, fold in the condensed milk, vanilla extract and any other flavorings or ingredients.
- Pour the mixture into a resealable container, like a loaf pan or an insulated ice cream tab.
- Freeze for at least six hours or until firm.
- Alternatively, you can put the mixture in a deep stainless steel baking dish and freeze it for 45 minutes. As it begins to freeze near the edges, remove it from the freezer and stir it vigorously with a spatula, hand mixer or blender. Return it to the freezer. Continue to check the mixture and repeat this process every 30 minutes for 2-3 hours or until it is frozen.
- To serve, allow the ice cream to sit for a few minutes at room temperature before scooping it into containers.
- This kind of ice cream will melt a little more quickly than typical custard-based ice creams, but that is fine. It gives you more incentive to lick it up fast.
How To Store Homemade Ice Cream
Obviously, you should not expect homemade ice cream to last as long as store-bought ice cream does. Companies that make ice cream add preservatives to make it last longer. You probably will not add those to your ice cream when making it at home.
Let’s say you have made a large batch of ice cream and would like to store it for another hot day. You should know how to store it safely to keep it from going bad. Most homemade ice cream recipes advise you to refrigerate the ice cream for one week (one month at most).
Here are a few pointers on how to store homemade ice cream:
- Store homemade ice cream in the freezer in an airtight container with a piece of plastic wrap or waxed paper pressed directly onto the surface. This will prevent the formation of ice crystals that might ruin the texture of your ice cream.
- Make sure your freezer is at the right temperature. Homemade ice cream should be stored at temperatures below 0 degrees Fahrenheit. After you have checked that the temperature is right, maintain this temperature.
- Keep flavors from mixing while the ice cream is in the refrigerator. You do not want your vanilla ice cream tasting like garlic or brussels sprouts. If you do not have a separate chest freezer, consider keeping pungent foods in airtight containers to keep the odors from infiltrating your ice cream.

