Butter is hands down one of the best things that has ever happened to humanity. This smooth, rich-tasting spread fits morning toast and coffee perfectly and generally just makes dishes taste better. But did you know you could make your own butter at home? It’s much simpler than you might imagine. If you want to know more about butter and its history read our article the history of butter.
Why would you want to make homemade butter?
Grocery store shelves are full of different brands and kinds of butter. You can choose the fat content or even pick a flavored spread. And it isn’t so expensive that you might consider making your own in order to save some money. So why would you spend your time doing that?
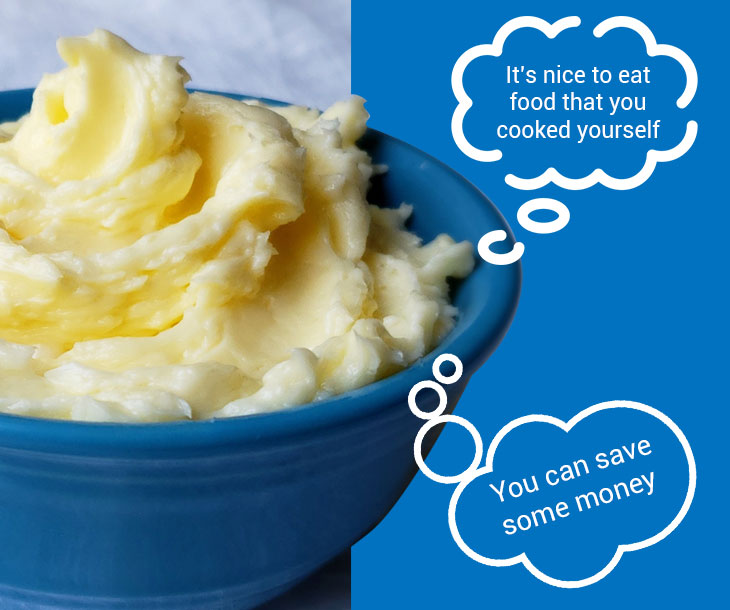
First of all, it’s nice to eat food that you cooked yourself. You know what ingredients are in it and you know how it was made because you are the one who made it. Making butter at home doesn’t require that much time either. Moreover, you will be left with delicious buttermilk that you can use for baking or making cheese. In the end, you will also save some money because buttermilk is useful too.
Just make sure you store your homemade butter in the fridge for no longer than 10 days. At room temperature, it will only survive for 3-5 days.
So let’s find out how to churn butter.

What ingredients and equipment do you need?
Before jumping into the tutorial on how to make butter, we will first go through a list of things you will need.
For delicious butter, the ingredients are simple. In fact, it’s only cream. If you want to include more flavor, you can add whatever you like. Just make the butter first and then add the other ingredients.
Here are some tips on how to choose the best cream for the job:
- Make sure it has a high fat content.
- The cream should be at least a couple of days old.
- The cream must ripen in the cold. Otherwise, the butter will be bitter.
- Don’t use cream that is too thick.
- Cream from grass-fed cows is the best option.
Now, let’s take a look at the equipment. If you don’t feel like buying any special devices, you can use a jar or a blender. It will take more effort to make this spread in a jar, but if you use a blender, you need the cream to ripen before churning it.
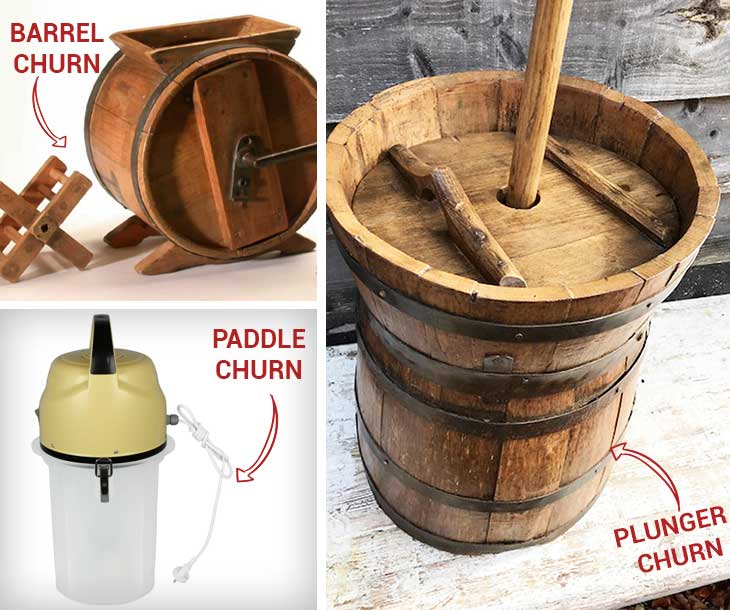
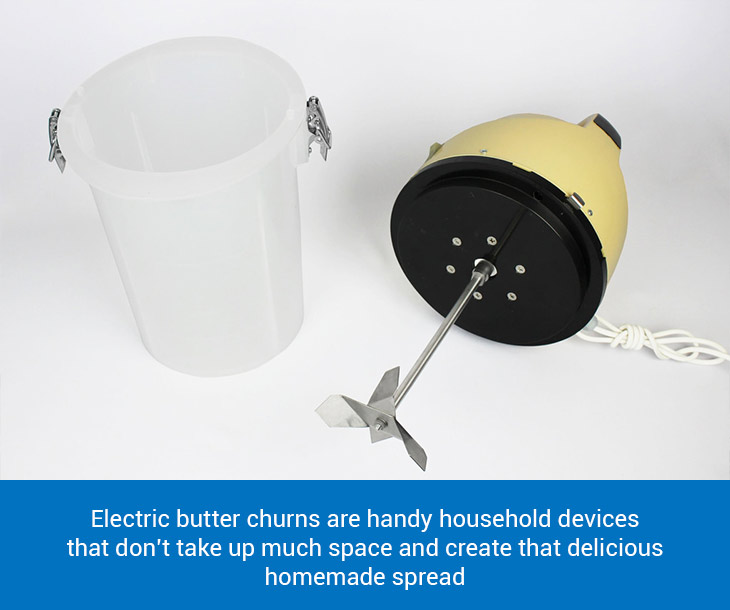
Obviously, the best tool will be a butter churn. There are plenty of options on the market now. You can use a glass jar butter churn if you like vintage equipment or you can go for an old-fashioned mechanical butter churn. Both will require you to put some effort into churning because you will need to rotate the handle manually.

If you want the process to be as easy as possible, get an electric butter churn. Then all you’ll need to do is turn it on and wait.
Steps to make butter
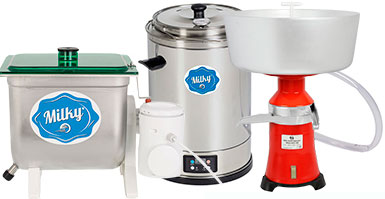
Let’s start at the beginning when you only have raw milk — not cream that is ready to use. So, how do you make butter from raw milk? Obviously, you need to make cream first. You can get a cream separator to simplify this process. Using this machine, you will only need to heat the milk to 30-35 degrees C and pour it into the separator. Then turn it on and wait.
But if you opt for the hard way, here are your options:
1. Shallow pan. For this method, you obviously need a shallow pan that is 6-8 inches deep.
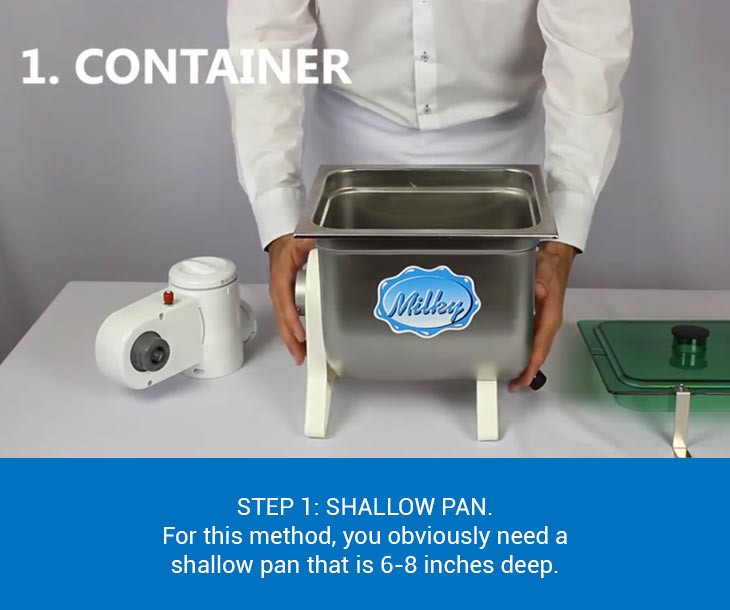
Take milk you just gathered from a cow and pour it into the pan. Leave it like this for 12-24 hours. Then gather the cream with a perforated spoon. Fresh butter made of such cream is sweet and tender. But if the resting milk gets too warm, the cream might spoil too soon. So this method is not ideal for a warm climate.
2. Deep setting. Take warm milk just gathered from a cow and pour it into jars. Place them in cold water so that the level of water is higher than the level of milk.
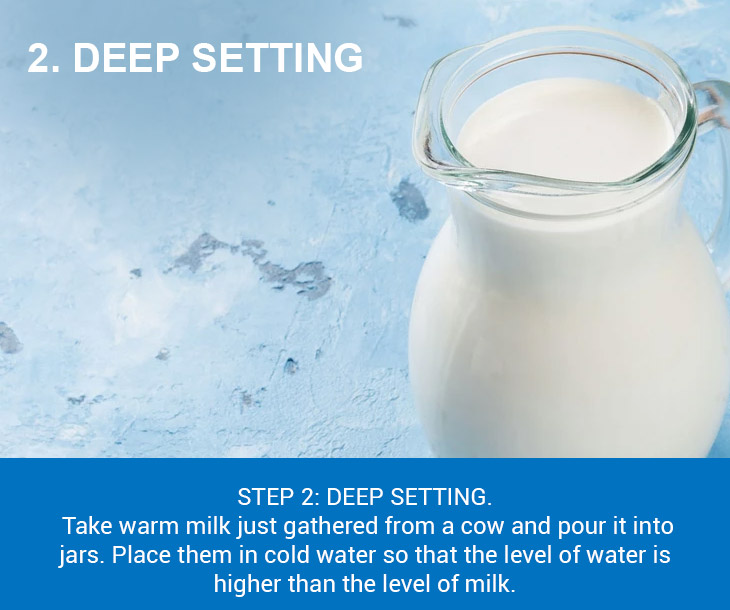
The water should be cold for all 12 hours during which the milk rests in jars. Then gather the cream with a perforated spoon. This is quite difficult to maintain and you will get a lot of cream, but its fat content will be low.
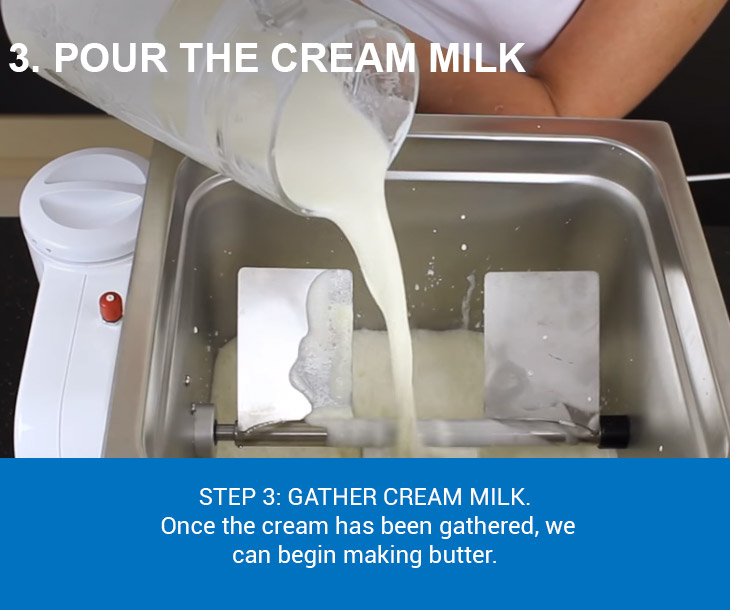
Once the cream has been gathered, we can begin making butter. But before then, leave the cream to ripen at room temperature for 2-3 hours. Don’t cover it, as air helps produce lactic acid bacteria.
Then grab the tool you’re going to use to make butter from heavy cream. If you don’t have a churn and are wondering how to make butter in a mason jar, here is what you need to do:
- Pour cream in a jar.
- Close the lid tightly.
- Vigorously shake the jar for 5-7 minutes. You will hear a clump forming inside. Shake the jar for two more minutes after that.
- Take the formed butter out and place it in a bowl.
- Pour cold water over it and squish the butter in a ball.
- Rinse and repeat two more times.
Now you can add flavors you like to your heavy whipping cream butter. You can also use sour cream to make butter. The process will be the same, but the taste will differ significantly.
Obviously, making butter in a jar is a good method if you’re only creating this spread for personal use. If you’re looking to sell homemade butter, you’ll need a churn. It will speed up the process a lot and make it much easier.
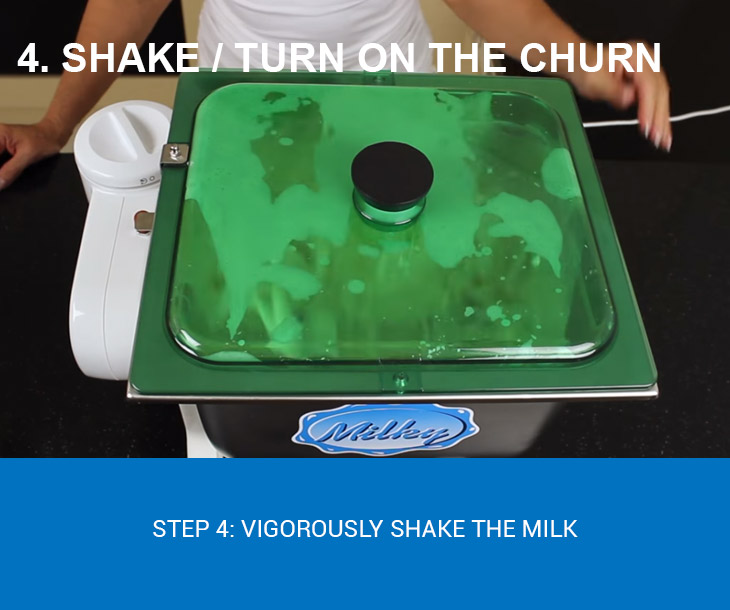
The simplest and quickest way to make butter from heavy cream is by using an electric churn. Of course, you can also use a blender or mixer. Just make sure you cover the bowl when mixing cream because as butter is getting formed, buttermilk will splatter all around.
And once butter is formed — no matter which tool you’re using — always rinse it with cold water and squish it to release any leftover buttermilk.
Making your own butter is easy and fun. And the best part is that you and your customers will know exactly what you’re eating with your morning toast. Enjoy both the process and this silky, flavorful spread!

